REVIEW · PUERTO PRINCESA
Honda Bay Island Hopping Tour – A Perfect Day in Paradise
Book on GetYourGuide →Operated by HARBREY TRAVEL AND TOURS · Bookable on GetYourGuide
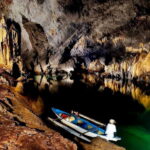
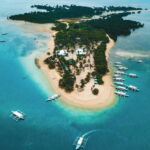
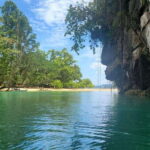
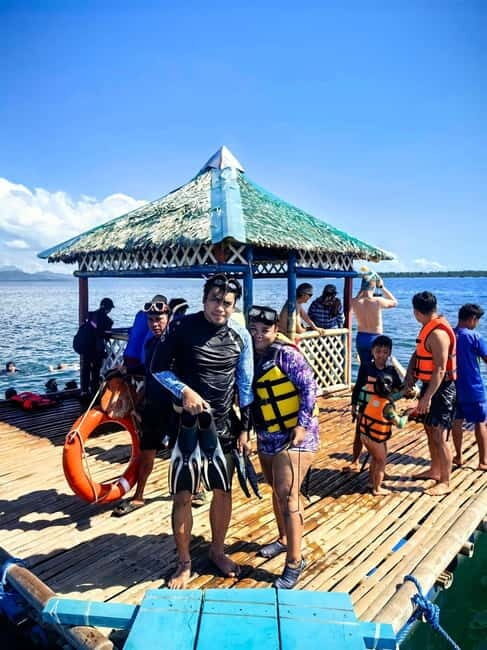
Tiny islands, big water fun. This Honda Bay day trip from Puerto Princesa strings together three classic stops—Starfish Island, Luli Island sandbars, and Cowrie Island beach time—so you get a real taste of Palawan’s coastline without doing lots of planning.
I love the Filipino picnic lunch setup on Cowrie Island and how you can actually relax instead of rushing between sights. I also really like the snorkel-and-wade feel around Starfish Island’s shallow, clear water, especially with a guide like DaDa who keeps the group moving and makes the day easy.
One thing to keep in mind: this tour can run long enough that timing matters, and pickup may be early or shift a bit. If you have a flight, give yourself buffer time.
In This Review
- Key things to know before you go
- Honda Bay in One Day: Why This Route Works
- Getting There: Pickup, Van Ride, and Wharf Orientation
- Luli Island: Tide-Made Sandbars and Photo Huts
- Starfish Island: Shallow Water, Clear Views, and Coral Check
- Cowrie Island: The Beach Vibe, the Lunch, and the Longest Stop
- Itinerary Reality Check: Why Schedules Shift
- Price and Value: Does $37 Really Add Up?
- What You’ll Do on the Water (Besides Just Looking)
- What to Bring (So You Don’t Spend the Day Uncomfortable)
- Who This Tour Fits Best
- Should You Book This Honda Bay Island Hopping Tour?
- FAQ
- What islands are included in the Honda Bay island hopping tour?
- How long is the tour?
- Is hotel pickup and drop-off included?
- Is lunch included, and where is it served?
- Do I need to rent snorkeling gear?
- Is the tour suitable for people prone to seasickness?
Key things to know before you go

- Cowrie Island is the long stop: you get the most time here, plus lunch on shore
- Starfish Island is shallow: you can spot starfish close to the waterline
- Luli Island changes with the tide: sandbars and views are part of the show
- Snorkel gear isn’t included: you may need to rent or bring your own comfort setup
- DaDa-style guidance: a live guide helps with timing and what to look for
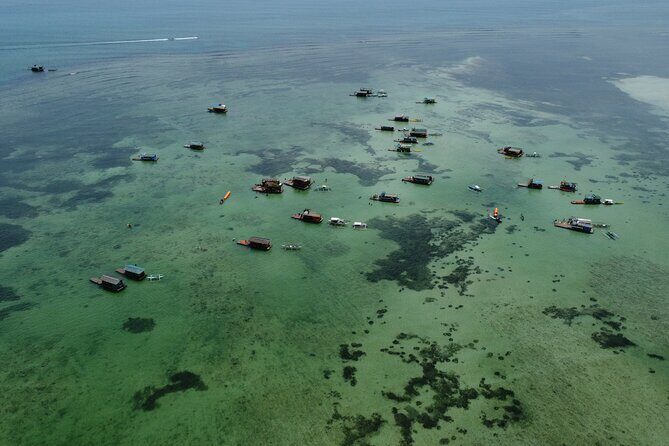
Honda Bay in One Day: Why This Route Works
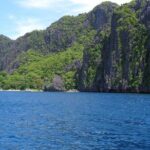
Honda Bay is on the eastern coast of Puerto Princesa, and it’s built for an easy island day. You’re out on the water quickly, then you spend the day moving between beaches that feel different from each other. That variety is the real value here: you’re not just taking one long beach break.
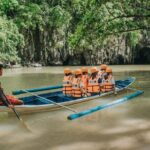
The tour’s flow is simple. You start with a hotel pickup inside Puerto Princesa City proper, transfer to the wharf area, and then hit three islands with guided time blocks. You’ll have breaks to swim, take photos, and snorkel whenever the schedule allows.
This kind of day tour is also great if you want “island time” without making island hopping a second job. You get boat transfers, a licensed guide, entrance fees, and life vests included—so your planning list stays short.
You can also read our reviews of more tours and experiences in Puerto Princesa.
Getting There: Pickup, Van Ride, and Wharf Orientation
Your day begins with hotel pickup and drop-off within Puerto Princesa City proper. From there, it’s a van ride to the Honda Bay wharf service road area, with time built in for getting everyone sorted.
After arrival, you get a guided segment before the island hopping portion fully kicks off. Practically, this matters because it sets expectations: where you’ll go first, what the water conditions might mean for timing, and how long you’ll have at each island.
What I’d do in your shoes: if you’re staying just outside the city proper, confirm pickup coverage before you assume it’s included. The tour data here is clear about pickup being limited to Puerto Princesa City proper.
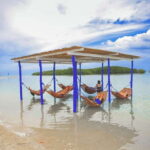
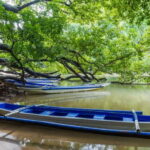
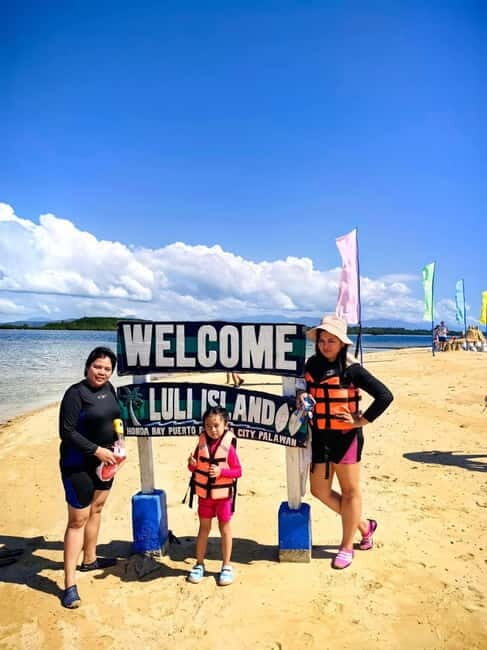
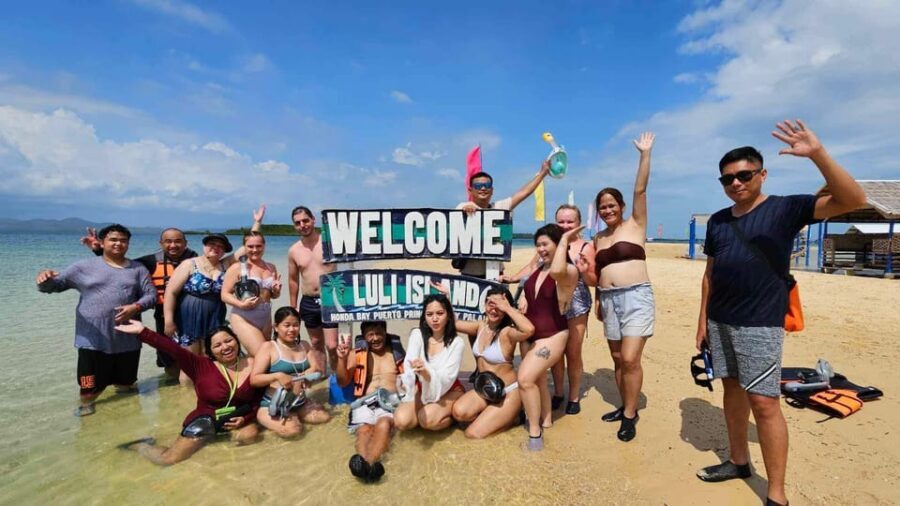
Luli Island: Tide-Made Sandbars and Photo Huts
Luli Island is the “wow, that’s different” stop. It’s known for changing with the tide—meaning sandbars and the overall look of the island shift throughout the day. That’s why it’s a good stop early enough to catch good beach and water access.
You’ll get about one hour guided time here. During that window, you can swim and hang out in a laid-back way. It’s also a photo-friendly stop because the shoreline look can change quickly as water levels shift.
One small consideration: the day’s flow is designed for groups, and you may not get every detail you want about Luli Island’s changing sandbars. If you’re the type who likes deep explanations, you can still ask your guide (DaDa, if you’re lucky enough to get the same one) what to watch for as the tide moves.
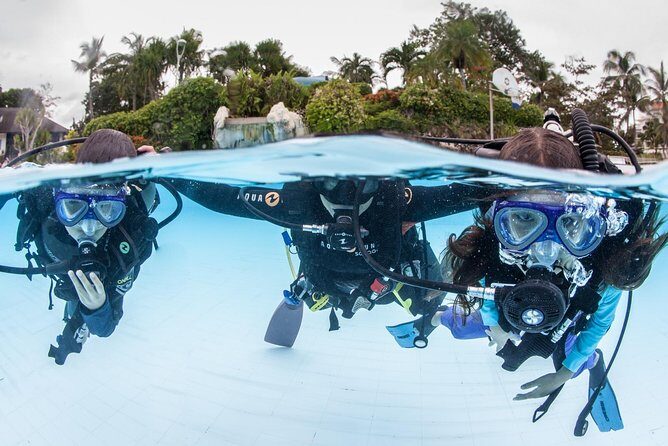
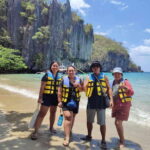
Starfish Island: Shallow Water, Clear Views, and Coral Check

Starfish Island earns its name the practical way: starfish are commonly spotted in shallow areas. When conditions are right, this makes it easier than deep-water snorkeling trips for people who just want a fun, low-stress experience.
Your guided stop here is about one hour. That’s enough time to wade around, take photos, and do a snorkel session without feeling like you’re losing the whole afternoon to setup.
For me, the best part is the “see it without a big production” feel. You’re not relying on luck alone—you’re in a place where the water is typically clear and the shoreline is accessible enough to explore at your own pace.
Quick comfort tip: you can wear a life vest (included), but you’ll still want a comfortable way to protect your feet when you’re walking in shallow rocky spots. The tour data doesn’t include snorkel gear rental, but it does include life vests, entrance fees, and guidance.
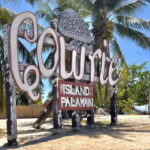
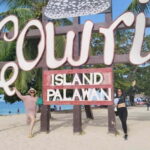
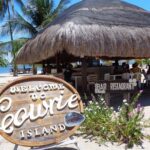
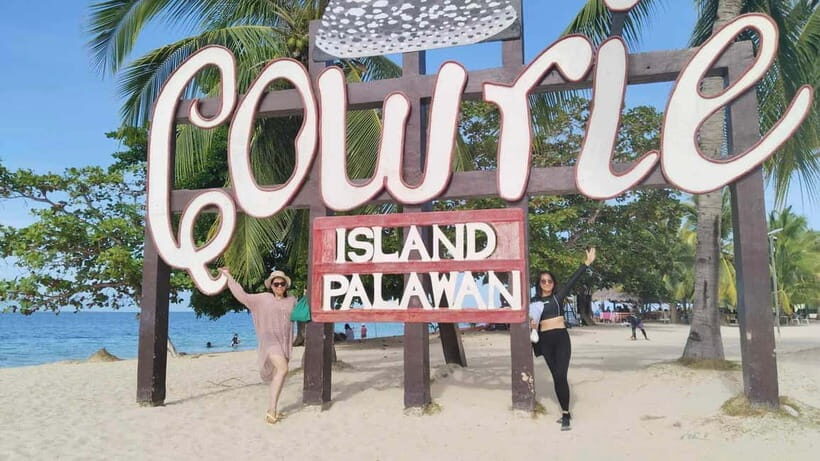
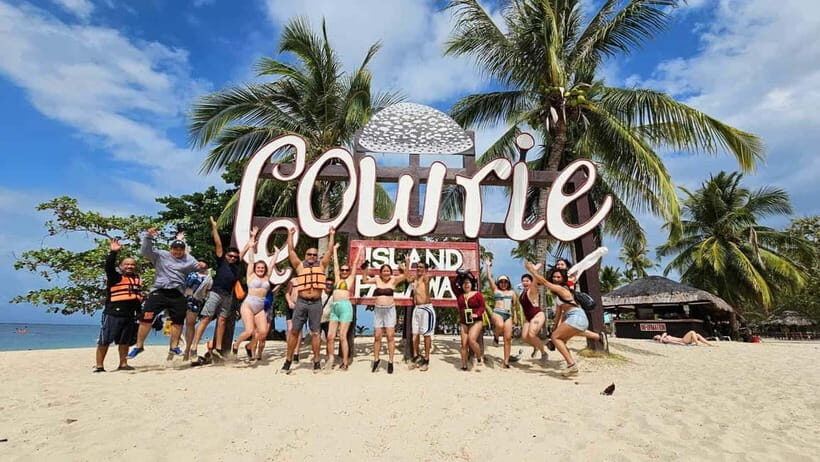
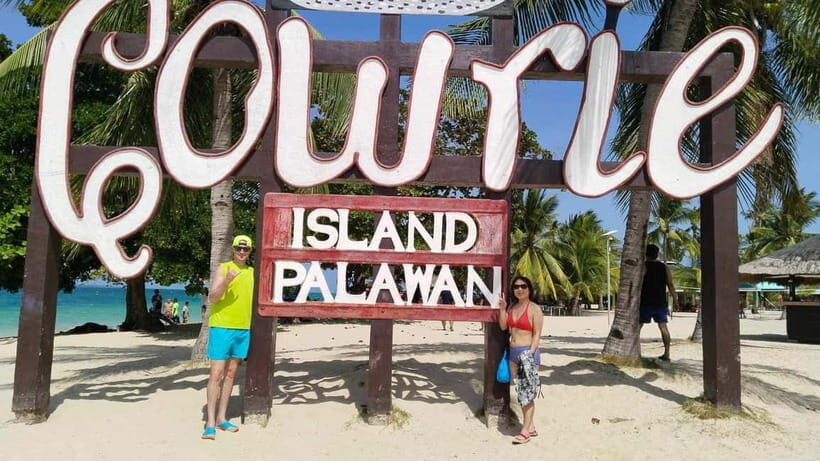
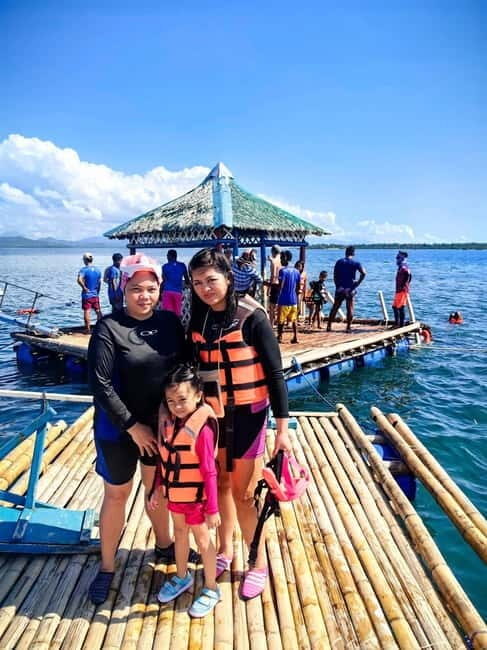
Cowrie Island: The Beach Vibe, the Lunch, and the Longest Stop
Cowrie Island is the anchor of the day. It’s the largest and more developed of the three, with beach loungers and shaded cabanas. Translation: this is where you can actually settle in.
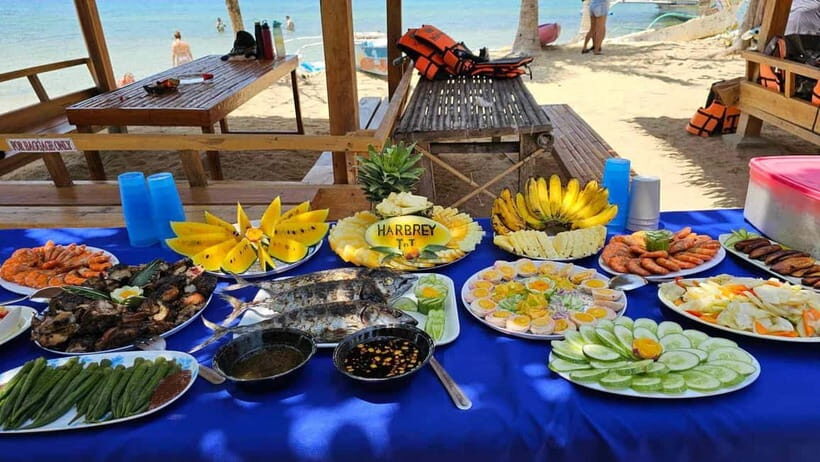
You’ll spend about three hours here, and this is also where the tour’s included meal happens. The lunch is a buffet-style meal on Cowrie Island, which matters because it turns the day from “snack between swims” into a real rest period.
This stop also tends to feel the most like a classic beach hangout. If you want to lie down, swim at a relaxed pace, and take photos without worrying about the next scheduled jump, this is your time.
In the reviews, the lunch and the overall “Cowrie Island vibe” come up as standout points. The food gets solid praise, and the longer time slot makes it easier to enjoy it instead of treating lunch like a quick pit stop.


Itinerary Reality Check: Why Schedules Shift
The planned flow is clear—Luli Island first, then Starfish Island, then Cowrie Island—but real-life timing can shift. Weather and water conditions can affect how quickly boats move or how long the group can safely stay in certain areas.
That’s also why it’s smart to treat the tour end time as a range in your planning. One review note specifically flagged that the tour runs until about 15:30, and it also pointed out that pickups and timing may not match your expectations if you’re working around flights.
If you have a flight or a hard appointment, build in buffer time. This is one of those trips where being “almost on time” can still leave you stressed when the day runs a little long.
Price and Value: Does $37 Really Add Up?
At $37 per person, this Honda Bay island hopping tour is priced like a full-day activity with most basics already handled. You’re paying for boat transfers to and from the islands, a licensed guide, entrance fees, life vests, hotel pickup/drop-off within city limits, plus the included buffet lunch on Cowrie Island.
That bundle is where the value is. If you tried to piece this together yourself—boat logistics, entrance fees, guide help, lunch planning—it would likely cost more in both money and time.
Now, the “read the fine print” piece: snorkel gear rental and an environmental fee (₱150) aren’t included in the base package. That means your true cost might be a bit higher depending on what you bring and whether you rent gear. If you already own swim shoes and a snorkel mask, you can keep the extra spending down.
My take: for a one-day triple-island plan with lunch included, $37 feels like fair value—especially if you want the guided structure. If you’re the type who hates group pacing, this price may feel less appealing because the schedule (and possible minor shifts) are part of the experience.
What You’ll Do on the Water (Besides Just Looking)
This tour is set up for a “swim, snorkel, and lounge” day, not a hardcore adventure circuit. You’ll have time for:
- Wading and taking photos on white sand beaches
- Snorkeling in clear water to look for corals and marine life
- Beach downtime on Cowrie Island’s more developed shoreline
You don’t need to be an expert swimmer to enjoy it. Your life vest is included, and the shallow areas at Starfish Island make it easier for beginners to feel comfortable in the water.
One practical note from the field: sunscreen and foot comfort matter. A review recommended bringing cream (for sun protection) and pointed out that you can rent water shoes and masks, but buying your own snorkel foot comfort gear can be better for fit.
What to Bring (So You Don’t Spend the Day Uncomfortable)
This is the part that makes or breaks beach trips. The tour gives you guidance, vests, and access—but it can’t give you comfort.
Bring:
- Swimwear and a quick-dry change if you can
- Sunscreen (seriously; the sun is real)
- Water shoes you trust on shallow rocky spots
- A snorkel mask if you have one, or budget for rental
- A small waterproof bag for your phone and essentials
If you’re prone to motion sickness, keep in mind the tour is not suitable for people prone to seasickness. The ride is part of the experience, so don’t ignore that detail.
Who This Tour Fits Best
This Honda Bay tour is ideal if you want:
- A first-time Palawan island experience without planning boats or guides
- A mix of snorkel time + beach time + lunch
- An easy shared-group day with pickup included in Puerto Princesa City proper
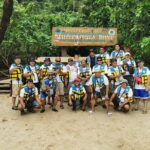
It’s also a good fit for couples and small groups who want shared fun and don’t mind following a schedule. If you’re traveling solo, shared tours can be a social bonus, but the experience still centers on the islands—not on meeting people.
If you hate group pacing or you’re trying to hit very tight timing around flights, you’ll need to plan carefully.
Should You Book This Honda Bay Island Hopping Tour?
Book it if you want a smooth, structured day with real beach time and an included meal. The combination of Starfish Island shallow water, Luli Island’s tide changes, and Cowrie Island’s longer hangout window makes this more than a quick photo stop. And with a guide like DaDa in the mix (when available), you’re in good hands for timing and on-water guidance.
Skip it or choose a different plan if:
- You’re sensitive to boat rides and motion sickness (this one isn’t a match)
- You have a flight or strict schedule and can’t add buffer time
- You’re expecting snorkel gear included automatically (you’ll need to handle rental or bring your own)
If your goal is a practical, authentic island day from Puerto Princesa, this is a solid pick.
FAQ
What islands are included in the Honda Bay island hopping tour?
The tour visits Luli Island, Starfish Island, and Cowrie Island.
How long is the tour?
The total duration is 7 hours. Starting times vary by availability.
Is hotel pickup and drop-off included?
Yes. Pickup and drop-off are included within Puerto Princesa City proper.
Is lunch included, and where is it served?
Yes. A buffet lunch is included and served on Cowrie Island.
Do I need to rent snorkeling gear?
Snorkel gear rental is not included in the base package. There is also an environmental fee of ₱150 not included.
Is the tour suitable for people prone to seasickness?
No. The tour is not suitable for people prone to seasickness.