REVIEW · BORACAY
Boracay LandTour Experience (Photoshoot)
Book on GetYourGuide →Operated by Mstartours · Bookable on GetYourGuide
That first photo moment hits fast. This Boracay land tour mixes quick beach hopping with a real photo-shoot setup, not just stop-and-snap time. I like the small group feel (max 10) and the fact you ride around the island by tuk-tuk eTrike, so the day feels light and doable.
What you’ll get is a guided route through several different corners of Boracay, including Mangrove area at Bakawan, Bolabog Beach, Sinagpa/Din-iwid Beach, Keyhole at Newcoast Beach, and Puka Beach. A possible drawback: the schedule is weather-dependent, so if conditions turn rough, some photo angles and beach time can feel shorter than you want.
If you’re trying to see more than the famous beachfront and leave with solid photos, this is a strong value for a 3-hour plan—just bring what you’ll need for comfort, since food and drinks aren’t included.
In This Review
- Key highlights worth planning for
- A 3-hour Boracay photo plan that fits real schedules
- Bakawan Mangrove stop: soft shade and calmer vibes
- Bolabog Beach plus the coconut-tree trending photo moment
- Sinagpa/Din-iwid Beach: a break in pace and a new shoreline mood
- Keyhole at Newcoast Beach: where the framing is half the job
- Puka Beach and its sand-castle wood details
- The photo-shoot with local experts: what matters on a short day
- Transportation and pacing: tuk-tuk eTrike keeps it light
- Price and value: $63 for pickup, guide, transport, and multiple photo-ready stops
- Who should book this Boracay land tour (and who should skip it)
- Should you book it?
- FAQ
- How long is the Boracay land tour experience?
- What is the price per person?
- Is hotel pickup included?
- Do I get transportation during the tour?
- Is the photo-shoot included in the price?
- What places does the tour visit?
- What languages are available for the guide?
- What is not included?
Key highlights worth planning for
- A guided route built for photos, with local experts helping you with poses and angles
- Five distinct stops across Boracay, so you’re not repeating the same view
- Tuk-tuk eTrike transport that keeps the day moving without feeling rushed
- Small group limit of 10, which makes it easier to get individual attention during the photo parts
- Free admission fees plus hotel pickup, so fewer surprise costs
- English and Tagalog guide support, helpful for clear directions and photo instructions
A 3-hour Boracay photo plan that fits real schedules
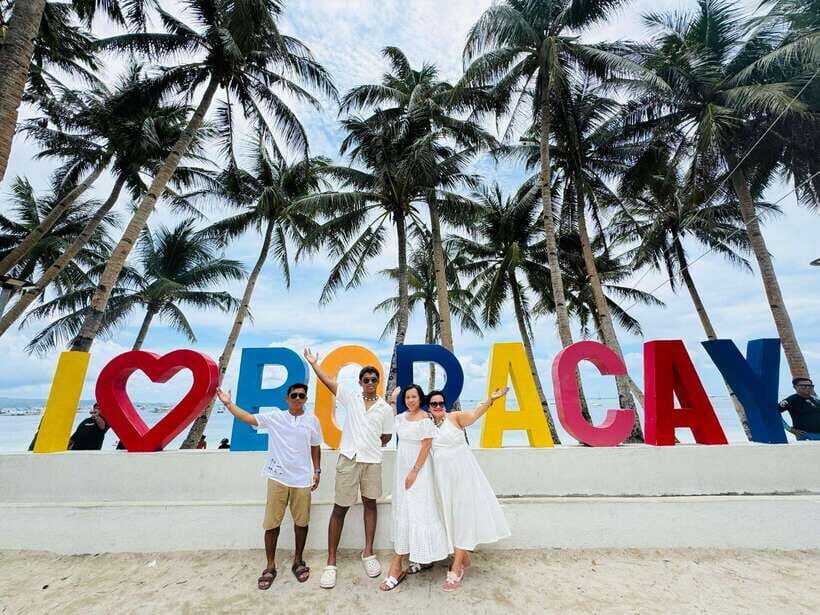
This tour is short on purpose: 3 hours. That matters because Boracay time can disappear fast when you’re juggling beach time, sunshine breaks, and getting back before you’re too tired. With pickup included and transport handled, you’re basically buying a smooth, guided “see-and-shoot” circuit.
I also like that it’s capped at 10 participants. In small groups, you’re not constantly waiting for the slowest person to catch up, and the photo guidance is easier to coordinate. The transport is a tuk-tuk eTrike, which gives you that local ride feeling without the stress of finding your own way.
Price-wise, $63 per person is competitive for what’s included: pickup, guide, transport, a photo-shoot, and free admission fees. The only big gap is that you’ll need to handle food, drinks, and gratuities yourself.
You can also read our reviews of more photography tours in Boracay

Bakawan Mangrove stop: soft shade and calmer vibes

The first stop is Mangrove (Bakawan). This is a nice reset when Boracay gets hot and you want something different from pure sand-and-sun. Mangroves give you a cooler, more shaded atmosphere and lots of photo angles that don’t look like the usual beach postcards.
Practically, this is the part of the day where I’d suggest slowing down. Take a minute before your photos to look for light direction and background texture—mangrove roots can create strong depth behind you. If you’re wearing light clothes, this stop also helps your photos look more natural, since you’re not only against bright sky.
If it’s raining or very windy, mangrove areas can feel extra slippery. You’ll still be able to enjoy it, but you’ll want sturdy footwear and a relaxed pace.
Bolabog Beach plus the coconut-tree trending photo moment

Next up is Bolabog Beach, paired with the spot described as Tumbang Puno na niyog na trending (a trending coconut tree photo moment). This part is clearly built for photos that look current and fun—not just scenic.
Bolabog also tends to feel different from the more crowded beachfront areas. Even without getting into details about winds or swimming, the main win here is variety: you’re changing the look of your photos every stop. When you’re doing a photo-shoot day, that variety is what makes your set of pictures feel intentional, not repetitive.
Keep in mind that beach photo spots can get busy. Go with the flow, let your guide position you for the cleanest background, and don’t fight the crowd. Your photos will look better when you’re patient.
Sinagpa/Din-iwid Beach: a break in pace and a new shoreline mood
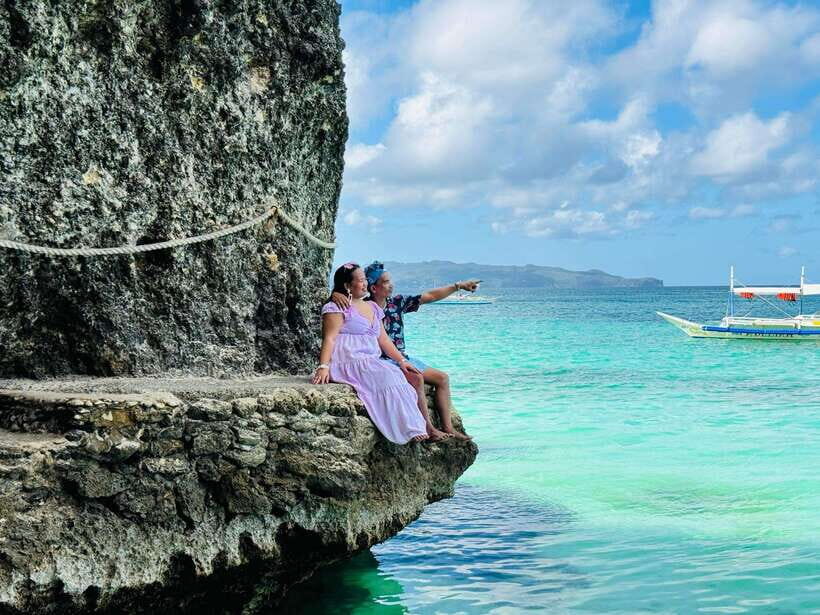
The route continues to Sinagpa Beach/Din-iwid Beach. Even if the beaches start to blur together after a few stops, this one helps because it’s another distinct shoreline look. That’s the point of a land tour with multiple destinations: you trade “one perfect beach” for “several different beach styles.”
This stop is also where you can breathe a little. In a short 3-hour day, you might feel like you’re always moving, so I like that beach breaks give you moments for casual shots, not only posed photos. If the lighting is good, this is often a great place for photos with more horizon and less background clutter.
If the weather is harsh—strong sun, heavy rain, or gusty wind—your guide can adjust how long you linger for photos. Just be ready to pivot quickly so the time stays productive.
Keyhole at Newcoast Beach: where the framing is half the job
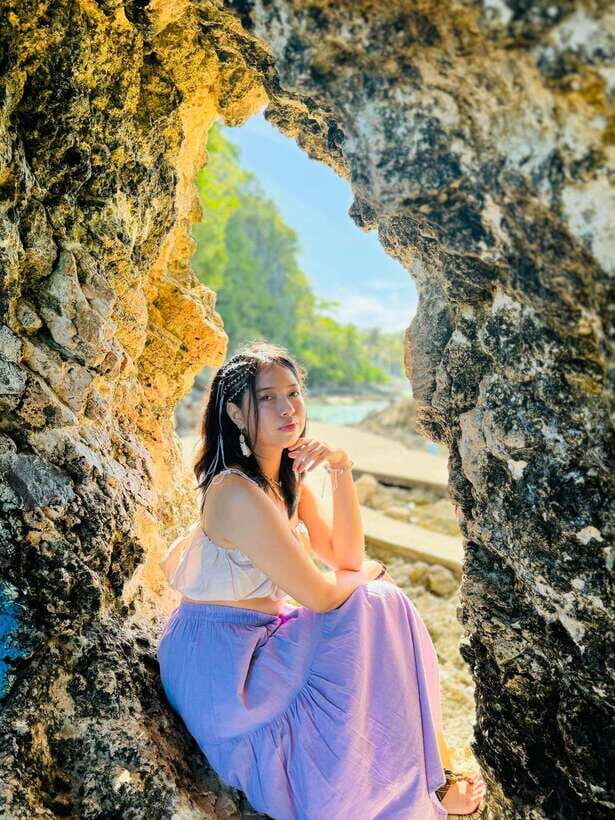
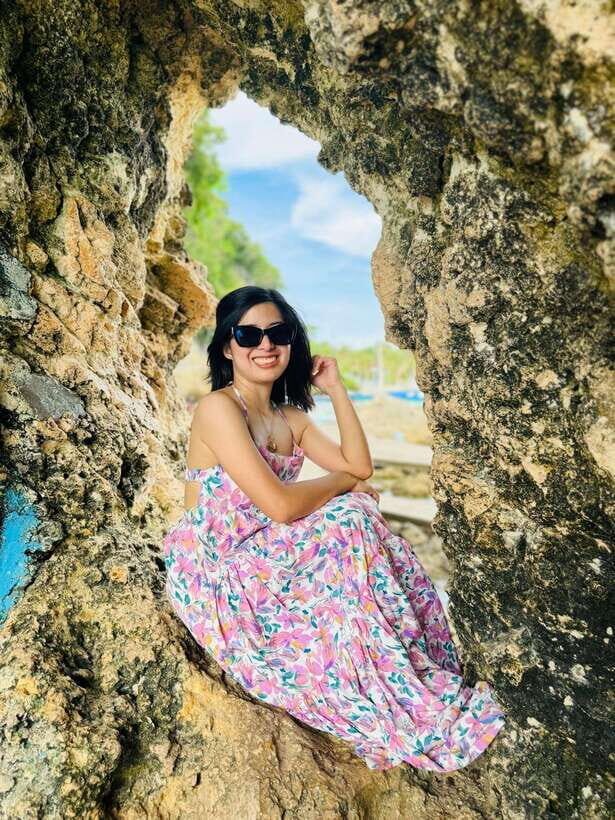
Then you reach Keyhole (Newcoast Beach). The name tells you what to aim for, and that’s exactly why it works for a photo-shoot: the composition is built in. You’re not trying to invent a scene from scratch; you step into a setup where the view does part of the work.
From a practical angle, this is a spot where your body position matters. Small changes—height, angle, and distance—can flip a photo from “interesting” to “wow.” This is where having local photo guidance really pays off, especially if you’re not used to posing.
If you’re bringing a camera or trying to get your phone just right, give yourself a minute for setup. If the crowd shifts, you’ll want your shot without rushing the frame.

Puka Beach and its sand-castle wood details

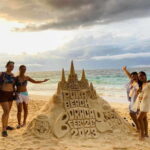
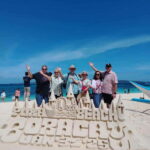
The final destination is Puka Beach, including the described “Sand Castle and PUKA name, made with woods.” This last stop is built for fun. Sand-castle themes and letter-name photo areas tend to create playful, shareable pictures—perfect if you want more than just scenic beach shots.
I also like that the wood-made details add texture. Plain sand and water backgrounds can look similar across multiple beach stops, but the handmade elements create a stronger visual story for your photo set. It’s the kind of place where your guide can steer you toward the best background angle without wasting your time.
If you’re doing photos for social media, this is often where you’ll want to spend a bit longer—because the setup is built to look good from multiple angles.
The photo-shoot with local experts: what matters on a short day

A big part of this tour is the photo-shoot with local experts. The best thing here is that you’re not just collecting snapshots; you’re getting help. People using this service point out the guides’ friendliness and the quality/quantity of photos, and I can see why: in a small group, your guide can focus on timing and positioning.
Guide names that show up in the experience include Jojo and Junalyn. The recurring theme is clear—guides take the job seriously, and they keep the mood easy, so you actually enjoy being photographed.
A practical tip: dress with photos in mind. Bring something comfortable but camera-friendly—light colors often work well against sand. If you have a hat, use it, but don’t let it hide your face in key shots. And if you’re using your phone, clean the lens first. Beach dust is quick.
Also, plan to charge your devices. You’ll likely be taking photos at each stop, plus you’ll be receiving edited or well-timed shots from the photo part (exact delivery method isn’t specified here, so just be ready for the photo workflow to be part of the experience).
One more “good to know” from real-life outcomes: the guides and driver approach is described as honest and responsible, including handling lost items and returning them. That’s a small detail, but it builds trust when you’re traveling in a group and moving quickly.
Transportation and pacing: tuk-tuk eTrike keeps it light
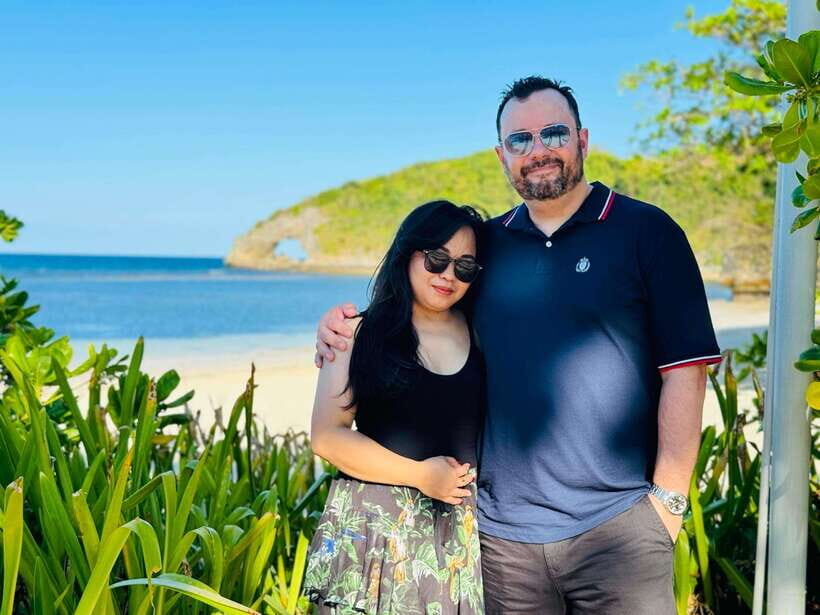
You’re using local transportation via tuk-tuk eTrike, with pickup from your hotel or accommodation. For a 3-hour tour, this is a smart match. It reduces the amount of time spent figuring out routes, and it keeps the day feeling like a guided plan instead of a scramble.
Pacing is the other key. With five stops, you can’t linger too long at each place, so you’ll feel the tour is structured. That’s not a bad thing. It’s the difference between a day that drags and a day that stays productive.
Because food and drinks aren’t included, I suggest bringing water and any quick snacks you might want. A short tour can still drain you, especially if you’re doing photo poses in direct sun.
Price and value: $63 for pickup, guide, transport, and multiple photo-ready stops
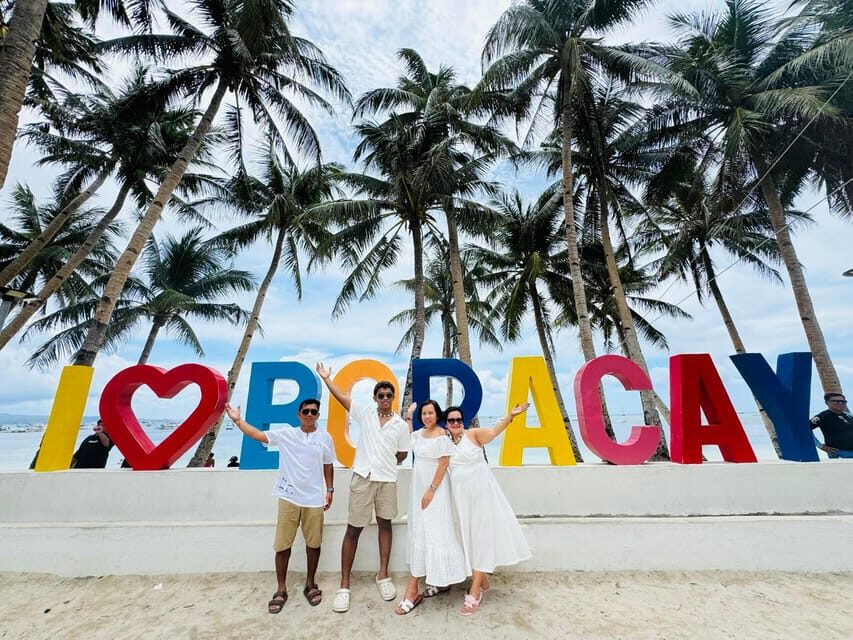
At $63 per person, you’re paying for three things you’d otherwise spend time figuring out: local transport, a guide, and the photo-shoot service. When you add in free admission fees, the price starts to look less like “tour cost” and more like “one bundled way to do several stops.”
What you’re not paying for: meals, drinks, and gratuities. That’s fairly typical for island tours, but it’s worth planning for so the final day cost doesn’t surprise you. Budget a little extra for snacks and water, especially if you’re doing multiple beach stops.
If you’re on a tight schedule—short stay, day-trip timing, or you just want the highlight circuit—this is a good deal. If you’re hoping for a slow, beach-only day where you stay hours at one spot, you might feel this is too structured.
Who should book this Boracay land tour (and who should skip it)
This tour is a good fit for:
- People who want more than one beach look in a short time
- Anyone who wants a helped photo-shoot, not random self-timed photos only
- Couples, friends, or solo visitors who like having a guide manage the flow
- Travelers who prefer small-group attention and faster logistics
It’s not suitable for:
- Wheelchair users
- People with altitude sickness
And one more practical consideration: check the weather before you go. Since the plan depends on outdoor beach and photo spots, bad conditions can affect what you get to do and how comfortable it feels.
Should you book it?
Yes, you should book this if you want a compact Boracay experience that mixes mangrove scenery, multiple beaches, and a guided photo-shoot. The small group size, pickup, transport, and inclusion of free admission fees make it feel efficient, and the repeated praise for the guides’ friendliness and photo results is the kind of detail that matters.
I would skip it if you’re seeking a long, relaxing beach day with minimal movement. Also skip it if accessibility needs don’t match the tour’s physical setup, or if you have altitude concerns.
If you’re planning smart, pack for sun and comfort, bring water, and show up ready for a photo-focused route. You’ll likely leave with a set of pictures that looks like you actually planned your day on purpose.
FAQ
How long is the Boracay land tour experience?
The duration is 3 hours.
What is the price per person?
The price is $63 per person.
Is hotel pickup included?
Yes, pickup is included from your hotel or accommodation. You’re asked to leave your contact details and accommodation information for pickup.
Do I get transportation during the tour?
Yes. The tour includes local transportation using a tuk-tuk eTrike.
Is the photo-shoot included in the price?
Yes. Photo-shoot is included, along with a local guide and free admission fees.
What places does the tour visit?
The tour visits Mangrove (Bakawan), Bolabog Beach (with the trending coconut tree photo spot), Sinagpa Beach/Din-iwid Beach, Keyhole (Newcoast Beach), and Puka Beach (including the sand-castle and PUKA name made with woods).
What languages are available for the guide?
The guide can speak English and Tagalog.
What is not included?
Food and drinks are not included, and gratuities are not included.